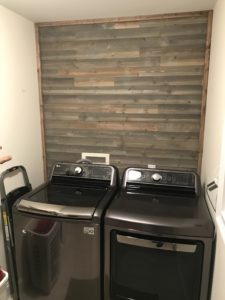
Our laundry room needed an upgrade. There was no character, and it had storage limited to a hard to access wire shelf. This is the finished product. Some wall paneling to make the room a little more interesting than the plain wall that once served as the focal point of the laundry room.
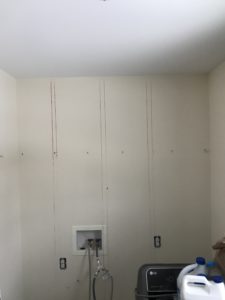
Here is that plain wall. We removed a wire shelf that was too high and behind the washer and dryer rendering it almost completely unusable. After finding and identifying studs with chalk lines, we were ready to start paneling.
We decided on some reclaimed look alike pine panels. They looked great, and we only needed two packs, so the cost was right under $60. This was a much better option than going with some of the more expensive reclaimed wood companies that charge up to $15/square foot for the same look. 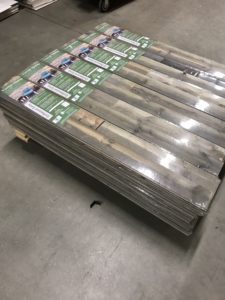
The paneling process went super smooth, and the panels come in different lengths which made staggering them easy. We used a chop saw for the primary cuts, a jigsaw for the outlet and vent cutouts, and a pneumatic brad nailer to attach the panels. This project was my first time using a brad nailer, and now I just wish I could panel the whole house so I can use it.
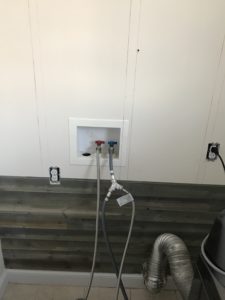
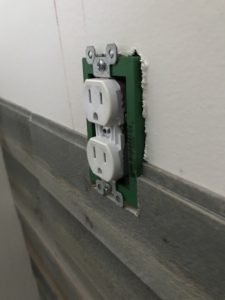
After shutting off the power, we used plastic outlet extenders to pop the outlets out of the drywall so that the plates sat flush with the paneling when we were finished. They were only $1 a piece and came in a variety of widths. We chose the width of the panels and had no issues.
Once we made it past the hookups and outlets, we were able to cover the top of the wall very fast.
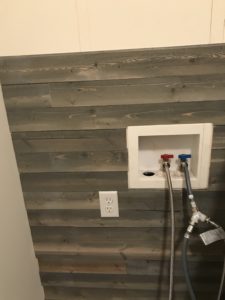
We finished with less than one foot of scrap wood. We found spots for small pieces of scrap for tight spots, and it saved us from having to open up another $30 pack for just 1-2 feet of paneling.
The last thing we wanted to do was frame the wall with a simple molding to set the wall apart. The issue is that traditional molding would look too formal for the reclaimed wood look so we sorted through 1×2 furring strips to find three that were straight enough to be used as molding.
The sorting was tedious because furring strips are very cheap cuts of wood, less than $2 for an 8′ board. Most are bent at horrible angles, but for our purpose, we needed wood that was rough cut and smothered with knots.
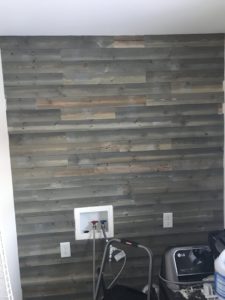
We stained the molding with a grey stain and then added splotches of brown stain for the reclaimed look.
After the wall was complete, we decided to add some shelves and a clothing rod to make the space more useful and shelves accessible.
Here are pictures of the finished product.
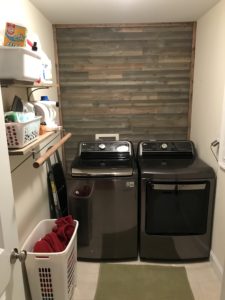
I’m pleased with how the whole room turned out. It is much more user-friendly with the shelf relocation, and the wall sets the room apart from the typical blank laundry rooms.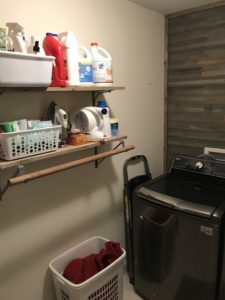
The wall cost was around $90. This total includes the price of paneling, brads, furring strips, outlet extensions, and stain. The wood for the shelves, brackets, and oak closet rod came in at the $50 mark. Even if I include the cost of the Dewalt brad nailer, $90, the total was under $230, and I can use the nailer, brads, and stain for another project. The $230 is still less than half of the cost of the comparable stickable reclaimed wood paneling without the added shelves.